
Understanding Vapor Barrier Installation
What is a Vapor Barrier?
A vapor barrier is a synthetic material designed to restrict moisture migration from one area to another, primarily preventing water vapor from entering the living space of a building. It acts as a shield between damp soil or concrete and the inside of a structure, particularly in areas like crawlspaces and basements where high humidity levels can create problems such as mold growth, wood rot, and structural damage.
Importance of Vapor Barrier Installation
Vapor barriers play a crucial role in maintaining indoor air quality and structural integrity. In climates where humidity is prevalent, proper Vapor Barrier Installation is essential to prevent moisture-related issues. Installing a vapor barrier aids in reducing energy costs as less energy is spent on heating or cooling a space that is not infiltrated by humidity. Furthermore, it protects against pests and helps keep utilities functioning properly.
Common Mistakes in Installation
Despite the straightforward nature of vapor barrier installation, several common mistakes can undermine the project’s effectiveness. These include:
- Improper Sealing: Failing to seal edges and seams can allow moisture to seep through.
- Inadequate Coverage: Not covering the entire ground surface can lead to moisture accumulation in uncovered areas.
- Using Wrong Materials: Using subpar or inappropriate materials may lead to early decay or damage.
- Poor Installation Technique: Leaving gaps or improper overlaps can compromise the barrier’s performance.
Materials Needed for Vapor Barrier Installation
Types of Vapor Barriers
There are several types of vapor barriers available, and the choice often depends on the application and environmental factors. Common types include:
- Polyethylene Sheets: Typically 6 to 20 mil thick, these sheets are the most common and cost-effective option for crawlspaces and basements.
- Foil Barriers: Metalized foil barriers reflect heat and are ideal for conditioned spaces, often used in attics.
- Liquid Membranes: Applied as a liquid that dries to form a solid membrane; suitable for irregular surfaces.
- Smart Vapor Retarders: Changes permeability based on humidity levels, offering dynamic moisture control.
Tools Required for Installation
Having the right tools on hand can make the installation of a vapor barrier more efficient. Essential tools include:
- Utility Knife: For cutting the vapor barrier material.
- Tape Measure: To ensure accurate measurements and fit.
- Stapler or Fasteners: To secure the barrier to walls or beams.
- Sealing Tape: To ensure seams and edges are watertight.
- Safety Gear: Gloves and goggles are recommended to protect against sharp tools and materials.
Cost Considerations and Budgeting
The cost of vapor barrier installation can vary greatly depending on material choices, area size, and labor, if applicable. On average, homeowners can expect to pay between $500 and $2,500. Factors influencing costs include:
- Material Pricing: Heavier-duty polyethylene or specialized barriers can significantly affect the budget.
- Size of the Area: Larger spaces require more materials and potentially more time for installation.
- Professional Services: If hiring a contractor, labor costs can comprise up to 50% of the overall price.
Step-by-Step Process of Vapor Barrier Installation
Preparing the Area for Installation
Preparation is key to optimizing vapor barrier effectiveness. Begin by removing any debris, sharp objects, or existing moisture sources from the installation site. Ensure the ground is level and dry; a well-prepared site makes installation much simpler and more effective. Consider using a dehumidifier in the area before installation to help reduce moisture levels.
Installing the Vapor Barrier
Once the area is prepared, it’s time to install the vapor barrier:
- Measure and Cut: Measure the area where the barrier will be installed, cutting the vapor barrier to size with a utility knife.
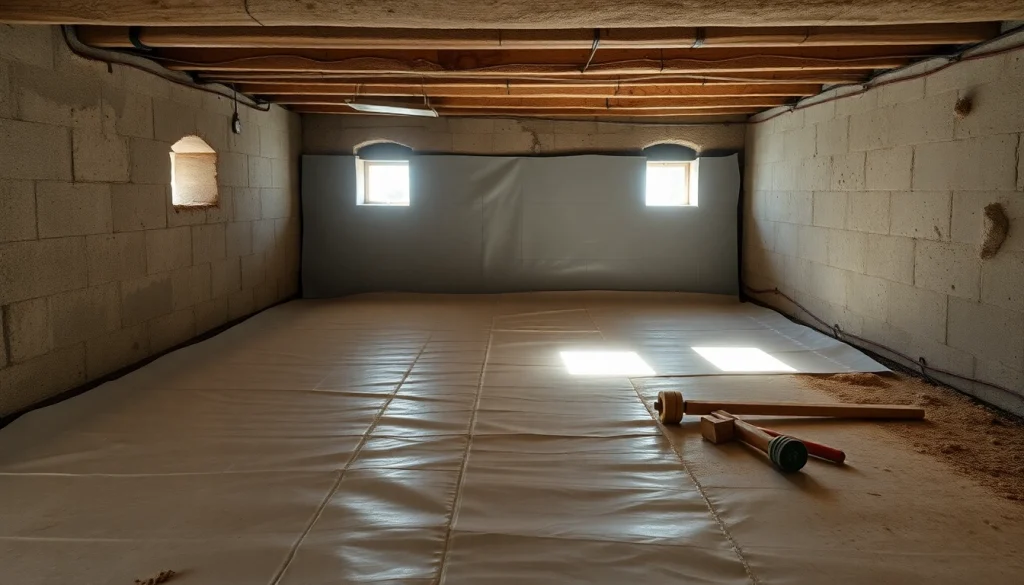
- Lay the Vapor Barrier: Position the barrier across the ground, ensuring it extends along the walls and overlaps seams.
- Secure the Barrier: Use staples or fasteners to attach the barrier to foundation walls and beam edges.
- Seal the Joints: Apply sealing tape on all seams to create a watertight seal.
Sealing and Finishing Touches
After positioning the vapor barrier, ensure all edges and joints are securely sealed. Pay special attention to areas where the barrier meets walls or other structures. This ensures that moisture from the outside remains excluded. Final checks for any gaps or unsealed areas should be completed before concluding your installation process.
Maintenance and Inspection After Vapor Barrier Installation
Regular Inspection Tips
After installation, it’s essential to conduct regular inspections to keep your vapor barrier functioning effectively. Inspections should include checking for:
- Signs of moisture buildup or leaks.
- Damage caused by pests or other external factors.
- Any wear or degradation of the barrier material.
Signs of Wear or Damage
Keep an eye out for specific indicators that may suggest your vapor barrier needs attention:
- Visible Moisture: Presence of water droplets or damp patches indicates potential failure.
- Mold Growth: This is a direct sign of excessive moisture levels that need to be addressed.
- Crumbling or Discolored Material: This can indicate degradation which can compromise effectiveness.
How to Repair Your Vapor Barrier
If you detect any issues, prompt action is essential. Small tears or holes can be repaired easily using sealing tape. For larger areas that show signs of wear, you may need to replace the affected section of the barrier. In extreme cases where the barrier has become ineffective, consider a complete replacement.
FAQs About Vapor Barrier Installation
How long does a vapor barrier last?
A properly installed vapor barrier can last 15 to 30 years or more, depending on the material and environmental conditions.
Can I install a vapor barrier myself?
Yes, with proper planning and tools, a vapor barrier can be installed as a DIY project, although hiring a professional may yield better results.
What is the difference between vapor barrier and vapor retarder?
A vapor barrier is impermeable to moisture, while a vapor retarder allows limited moisture transfer, typically under certain conditions.
Do I need a vapor barrier in my crawlspace?
If your crawlspace is prone to moisture buildup, installing a vapor barrier is highly recommended to prevent damage and preserve indoor air quality.
What are the benefits of installing a vapor barrier?
Benefits include reduced humidity, lower energy costs, prevention of mold growth, and enhanced structural integrity of the building.