
- Introduction to the Super Safety Trigger
- Why Choose a Super Safety Trigger
- Tools You Need Before Installing a Super Safety Trigger
- Step 1: Ensure the Firearm Is Safe
- Step 2: Disassemble the Firearm
- Step 3: Remove the Old Trigger Assembly
- Step 4: Prepare the Super Safety Trigger for Installation
- Step 5: Install the New Trigger Assembly
- Step 6: Reassemble the Firearm
- Step 7: Function Test the Super Safety Trigger
- Step 8: Live Testing and Final Adjustments
- Maintaining Your Super Safety Trigger
- Conclusion
Introduction to the Super Safety Trigger
A Super safety trigger is one of the most important upgrades for improving reliability, control, and overall shooting performance. Whether you are enhancing a competition firearm or simply improving your everyday setup, installing a Super safety trigger can increase safety and responsiveness. In this guide, you will learn everything you need to know to install a Super safety trigger correctly and confidently. By the end, you will understand the tools required, the installation steps, and the proper testing process to ensure your Super safety trigger functions flawlessly.
Why Choose a Super Safety Trigger
A Super safety trigger provides smoother operation, enhanced tactile response, and improved safety features. Many firearm owners choose a Super safety trigger because it reduces pull resistance, increases accuracy, and offers a more secure safety mechanism. Unlike standard triggers that may wear out over time, a Super safety trigger is designed for durability and consistency. If you want dependable performance every time, upgrading to a Super safety trigger is one of the best decisions you can make.
Tools You Need Before Installing a Super Safety Trigger
Before beginning the installation, gather the following tools to ensure a smooth process. Preparing these in advance will help you focus on installing your Super safety trigger without interruption.
- Gunsmithing screwdriver set
- Punch set
- Small hammer
- Needle-nose pliers
- Cleaning cloth
- Lubricating oil
- Safety glasses
Having all of these tools ready will make installing your Super safety trigger faster and more efficient.
Step 1: Ensure the Firearm Is Safe
Before handling any internal components, safety must always come first. Verify that your firearm is completely unloaded. Remove the magazine, clear the chamber, and visually inspect the firearm. You must never begin working on a Super safety trigger installation if the firearm has not been fully secured. Once you confirm everything is safe, you can proceed with confidence.
Step 2: Disassemble the Firearm
Begin disassembly according to your firearm’s manual. Remove the upper and lower components if applicable. To install the Super safety trigger, you must have full access to the trigger housing. Place removed parts neatly on your workspace. Keeping your workstation organized prevents losing small pieces that connect to the Super safety trigger.
Step 3: Remove the Old Trigger Assembly
Using a punch tool, gently tap out the pins holding the original trigger assembly in place. Once the pins are removed, lift out the old trigger. This step is essential because installing a Super safety trigger requires a clean and unobstructed housing. Inspect the trigger cavity for dirt or debris. Wipe it down so your Super safety trigger fits perfectly.
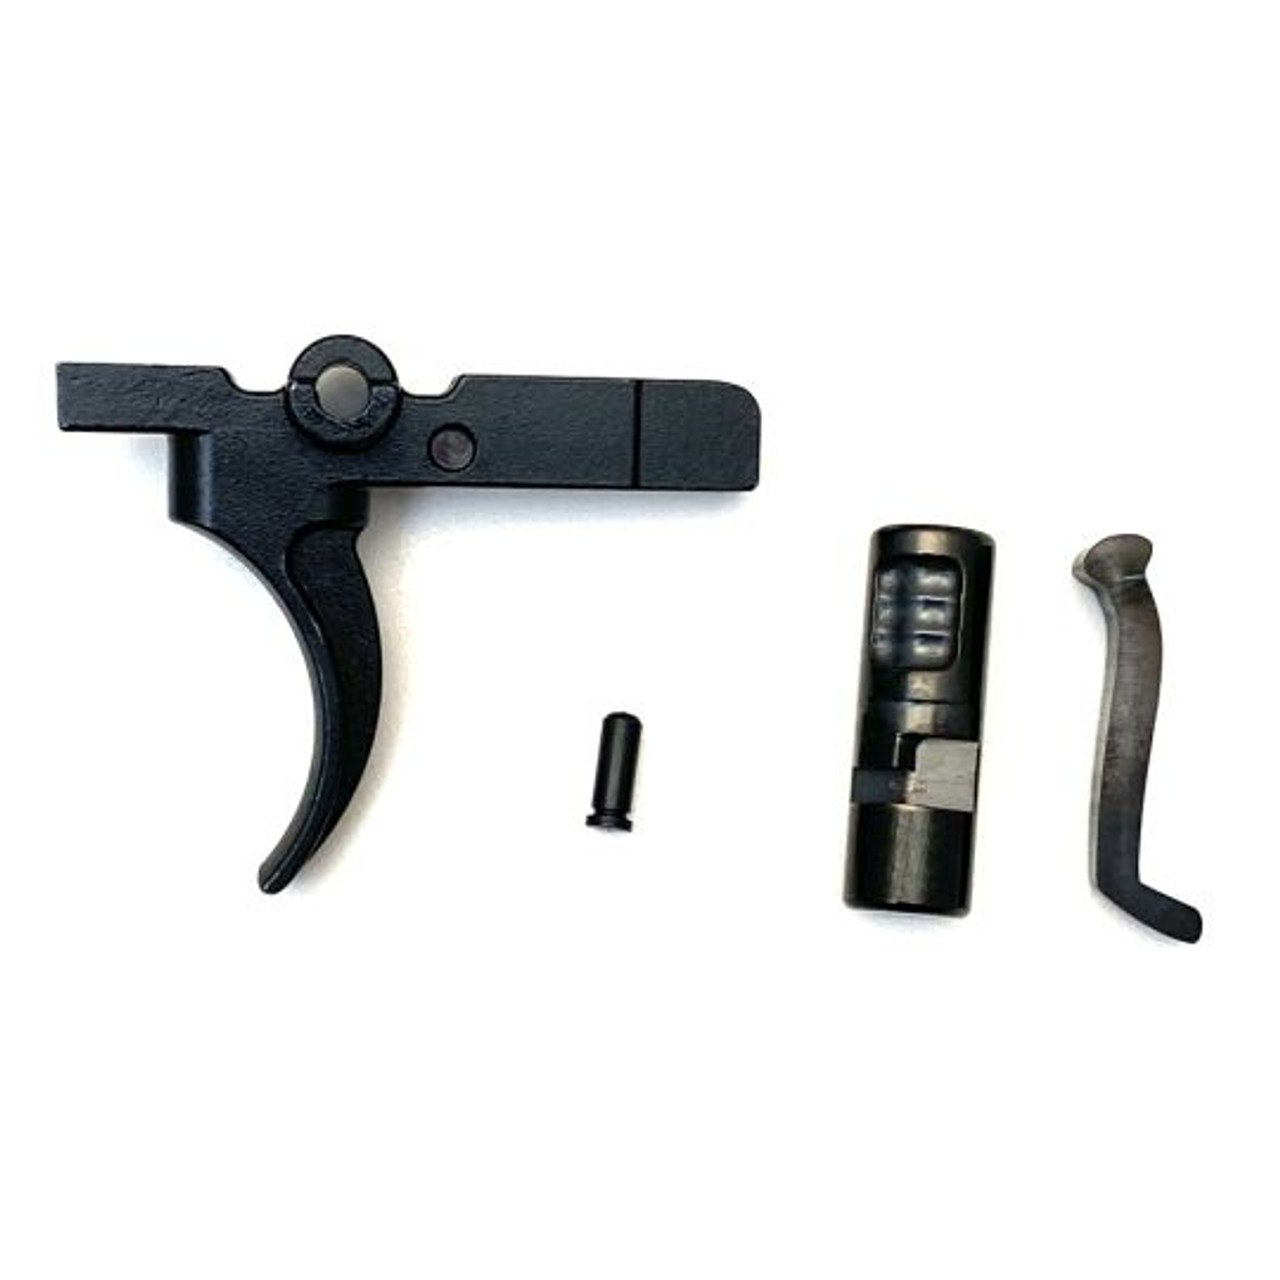
Step 4: Prepare the Super Safety Trigger for Installation
Before inserting your Super safety trigger, examine its components. Many models include springs, a safety lever, and retention pins. A quick inspection ensures your Super safety trigger is in perfect condition. Apply a small amount of lubricant to the moving parts. Proper lubrication ensures your Super safety trigger operates smoothly from the very first use.
Step 5: Install the New Trigger Assembly
Position the Super safety trigger into the trigger housing. Align the holes of the trigger with the corresponding holes in the firearm frame. Use your punch tool to insert the pins back into place. Take your time to ensure everything aligns correctly. A misaligned Super safety trigger can cause malfunction or unreliable performance. Once the pins are in place, gently test the movement of the trigger to confirm it operates correctly.
Step 6: Reassemble the Firearm
Now that your Super safety trigger is installed, begin reassembling your firearm. Follow the reverse order of your earlier disassembly steps. Ensure each component locks into place properly. Your Super safety trigger should fit seamlessly with your firearm’s internal structure.
Step 7: Function Test the Super Safety Trigger
Testing is critical. Once assembled, perform a complete function test.
- Test the safety mechanism to ensure your Super safety trigger locks and unlocks correctly.
- Test the trigger pull to feel the improved smoothness of your Super safety trigger.
- Check the reset to ensure your Super safety trigger responds consistently.
These tests confirm everything is installed properly.
Step 8: Live Testing and Final Adjustments
Once your Super safety trigger passes all function tests, take your firearm to a safe, designated shooting area. Fire several test rounds to confirm reliability. Pay close attention to responsiveness and safety engagement. If needed, make minor adjustments according to the manual. A quality Super safety trigger usually requires minimal tuning after installation.
Maintaining Your Super Safety Trigger
To keep your Super safety trigger working flawlessly, clean and lubricate it regularly. After heavy use, inspect the springs and safety mechanism. A well-maintained Super safety trigger can last for years and continue to provide consistent performance. Always follow manufacturer recommendations to keep your Super safety trigger in top condition.
Conclusion
Installing a Super safety trigger is one of the most effective upgrades for improving precision, control, and overall safety. With the right tools, careful steps, and consistent maintenance, your Super safety trigger will provide long-lasting reliability and superior performance. Whether you are a beginner or an experienced firearm owner, learning to install and maintain a Super safety trigger empowers you to get the most from your equipment.